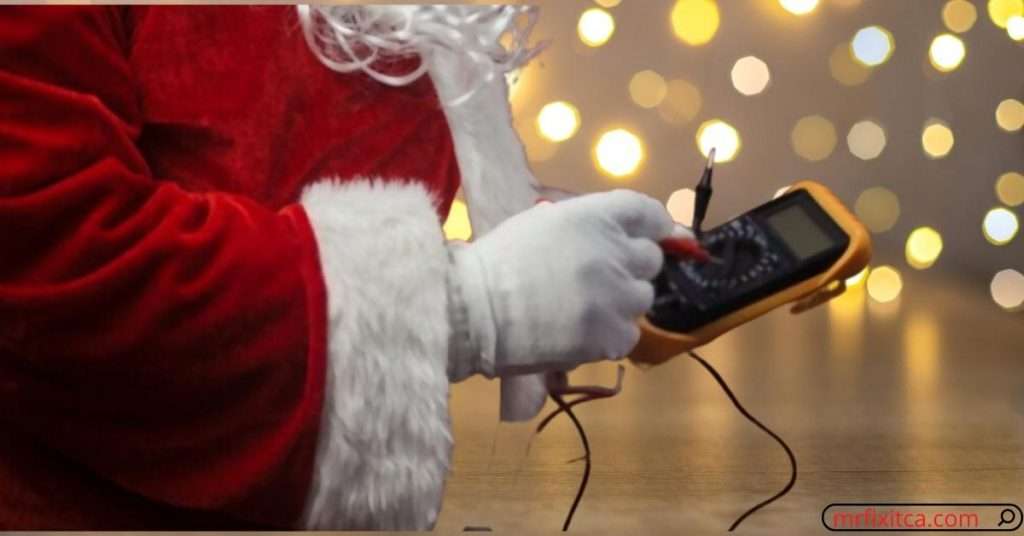
Are you looking for “how to test Christmas lights with a multimeter?” You are not alone if you suffer bulb failure while setting up for Christmas. Some might consider replacing a brand new set of LED strings, but there is also an option to repair the faulty lights.
Using a multimeter, you can detect the root cause of failure. Usually, broken wires, blown a fuse or bulb, or a dead plug may cause problems in your Christmas lights.
In this post, you’ll learn how to test Christmas lights with a multimeter and how to fix them.
Table of Contents
ToggleHow to test Christmas lights with a multimeter
You should have a multimeter to configure an issue in your bad string light. We perform continuity or resistance tests between different string components, such as the ends of lead(male and female plug), fuses, and between the bulbs, to find the cause of failure.
Set your multimeter to resistance or continuity and check between the wire’s end, bulbs and fuses. Also, visually inspect damage in the wire.
Follow the further steps given below.
-
Test Fuse in Male Plug
Two fuses in the male plug of the Christmas light string control the amount of current passing through the circuit. If the current exceeds a safe level, a thin wire inside the fuse burns and stops the current flow. If one of the fuses is blown, it may turn off half of the bulbs.
Steps to test the fuse
Slide the lid of the male power plug. Set your multimeter to resistance and connect probes along both metal ends of the fuse.
A working fuse will have continuity at both ends, and the multimeter will read 0 resistance, indicating its excellent current-carrying capability.
If the multimeter reads OL, there is no passage for current flow between two ends of the fuse, and the wire inside it is broken.
You can also visually inspect a broken fuse wire through the barrel (transparent body).
-
Test continuity in Whole String
By testing the continuity between two ends (male and female plug) of the LED string, you will come to know if the current is flowing through the entire string.
Steps to test continuity
Unplug the bulbs from the power source. Set your multimeter to ohms by turning the dial to the Ω sign.
Insert one probe of multimeter inside the female plug (a plug with holes) and connect the second probe with the male plug(with prongs or pins).
If your multimeter reads zero resistance or near zero, it means that current from the multimeter is passing from one end of the wire to the other. As resistance is quite low, the current is efficiently passing through the string, and there is continuity in the wire.
If the multimeter reading remains OL or 1, the wire is damaged, and the current cannot flow through the entire wire. The damaged wire, blown plugs, or fuse could be due to the damage.
If there is no continuity in both ends of the Christmas light string, it could be due to damage to wiring or a blown bulb.
-
Test to find a bad bulb in the String
A common problem in Christmas light string is a burnt bulb that hinders the current from passing into the rest of the bulbs. To identify a bad bulb in Christmas lights, we do a continuity test between string segments to find a short circuit.
Steps to find a blown bulb in Christmas Lights
- From the start of the string, gently pull out a bulb from its socket. Skip a few bulbs and pull out another bulb.
- Set your multimeter to resistance mode. Place probes inside both sockets and measure resistance between two points.
- If your multimeter displays resistance around 0, there is continuity between these two points. Keep moving forward in the string by skipping a few bulbs every time and checking resistance between every two points.
- When the multimeter shows OL, it indicates a short circuit between the two points.
- Between these two points, find resistance from one bulb to another, and where your multimeter displays OL, it means that one of both bulbs is blown.
- Replace the bad bulb with a new one or twist the wires inside the plastic holder to complete the circuit.
How to test a Christmas light string with a voltage tester?
A voltage tester checks if the current is flowing in the wire, and you can figure out the point from where the current is not passing forward.
Steps to test Christmas light string using a voltage tester
Connect the Christmas light string to a power source.
Please turn on the voltage tester and move it along the string from start to end.
The tester will beep or blink until it detects the current inside the wire. When the tester stops blinking, it’s the point of the short circuit, and the current is not moving ahead.
Replace the faulty bulb; the other lights will glow if the wires are not broken.
Conclusion
Fixing Christmas lights is quite easy. Must have precautionary measures before testing. Grab a multimeter and perform a few simple tests to find a point of discontinuity in the circuit.
Replace new lights if your Christmas lights are damaged in several places. You’ll find discontinuous sports in strings by performing continuity tests along different string components. Hopefully, this guide will test you to fix your Christmas light string and light your home.
Related Guides:


