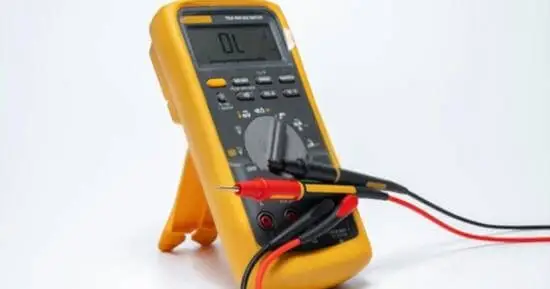
This article describes how to measure Hertz with a Fluke Multimeter. People use the digital multimeter of different companies because the digital multimeter is in great demand. So many companies are offering their kind of digital multimeter, but most people trust the fluke digital multimeter because it is easy to use. Still, some options and symbols people need help understanding the first time.
In this condition, they need a proper guide, and by following that guide, they will be able to use that multimeter accurately. The people who have the fluke multimeter will understand that sometimes they find it a troubling process to measure the frequency by using the fluke multimeter. Although there is no rocket science in this, you should know the proper procedure for doing that.
You can use the fluke multimeter to measure the frequency by pressing the shift with hertz. This is important to know because it is the key point of the procedure we will explain now.
How to Measure Hertz with a Fluke Multimeter?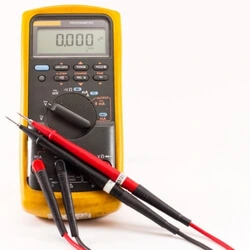
Tools required:
- Fluke digital Multimeter
- Frequency counter
- Gloves
Preventive measures:
- Make sure to dry out your hands before starting the test.
- Wearing protective hand gloves can provide you with more protection against any electrical shock.
- Make sure you use a normal functioning fluke multimeter, not the damaged one.
Quick steps for measuring hertz with a fluke multimeter:
- Turn on the fluke digital multimeter
- Set the fluke digital multimeter.
- Set the range.
- Connect the test leads with the right terminals.
- Take the voltage readings
- Press the hertz button
- Check the measurement of frequency.
Here is a brief explanation of measuring hertz with a fluke multimeter:
-
Turn on the fluke digital multimeter:
The first step is to turn on the fluid digital multimeter to become ready to measure the hertz or frequency.
-
Set the fluke digital multimeter:
Now you have to set the fluke digital multimeter; for this, you have to turn the dial of the fluke digital multimeter at the option of AC voltage.
-
Set the range:
If you are using an auto range fluke digital multimeter, then you don’t have to do this step, as the auto range fluke digital multimeter will set the range itself. Still, if you are using the manual mode, you have to set the AC voltage range at the fluke digital multimeter. Now the amount of this range will depend upon the range of the frequency of the voltage in the circuit.
Here you can use the frequency counter to count the circuit’s frequency, and then you can accurately set the AC voltage range at the fluke digital multimeter.
-
Connect the test leads with the right terminals:
Now you have to connect the fluke digital multimeter with the circuit to measure the frequency, so you have to connect the test leads with the right terminals. In this step, take the black lead and connect it with the com jack. Take the red lead and connect it with the circuit, keeping the lead position arbitrary.
After doing that, you now have to reverse these leads’ positions. Connect the red lead first and the black lead later.
-
Take the voltage readings:
After connecting the leads with the right terminals, you now have to take the voltage readings, which you can read from the digital screen of your fluke digital multimeter.
-
Press the hertz button:
After connecting the leads now, you have to immediately press the hertz button, which is the button to test the frequency you can find on your fluke digital multimeter.
Read the readings from the display screen of your fluke digital multimeter. These are the readings of the frequency of the circuit. You can see the frequency symbol and hertz with the readings on the display screen.
The benefit of measuring the frequency with the fluke digital multimeter:
Knowing the circuit’s frequency is important if you want it to work correctly. Because if you do not give the exact frequency to the circuit, it will not function correctly. If your AC motor requires a 40-hertz frequency to work properly and you are not giving the right amount of frequency to the AC motor, then it will not work efficiently.
If you provide less frequency to the circuit, the motor will work slowly, and if you give a higher frequency, it will work faster. It is important to know the exact frequency of the motor so that you can set your circuit at the right frequency to get a good response from the AC motor.
Using the fluke digital multimeter is beneficial because it is easy to measure the frequency by utilizing it and can give you reliable results. There are also so many other companies that can provide this facility for measuring the frequency. Still, if you are looking for a trustworthy company, you can use the fluke digital multimeter.
Conclusion:
If your AC motor is not working efficiently or working slowly, then it is possible that you are not giving the right amount of frequency to the circuit to which the AC motor is connected. So you can measure the circuit’s frequency using the following frequency measuring procedure we have given in this article.
It will be helpful for you as it will tell you the amount of frequency of the circuit, and then you can increase the amount of frequency according to the need of the AC motor to make it work properly. Giving less frequency to the AC motor can also damage its quality, so it is good to provide the total required frequency to the AC motor so that it will not get damaged and can do its function properly.
Frequently asked questions
By following the same procedure, can I measure the frequency using any other digital multimeter except the fluke digital multimeter?
Yes, you can follow the same procedure of measuring the frequency explained in this article while using a digital multimeter from any company.
What if no hertz sign is mentioned with the readings on the multimeter’s screen?
You should go to an electric store and let a professional check your multimeter. It is possible that your multimeter needs to be fixed.
What if the frequency readings on the fluke digital multimeter are changing?
You should check the switch of the circuit. The problem may be in your switch, which does not provide the correct amount of current to the circuit; that’s why the frequency measurement on the multimeter is repeatedly changing.
Additional information: In this case, you are also advised to change your switch because it can damage any electrical appliances connected to the circuit.
Related Guides:


