Do you need to fix your car or motorcycle radiator but don’t know how to solder the radiator? This guide makes radiator repair easy with just a few simple steps. Soldering is frequently used to repair radiators when the product can repair. Solder is utilized to join ducts, vents, and terminals in radiators.
Due to the solder’s low melting point, repair work is simple and less expensive than using aluminum, but they may need to be repeated. As two metals are not permanently bonded, they bonded by brazing or welding, where soldering is akin to a patch. The repair can last the entire life of the radiator if the soldering is done well.
Every manufacturing industry uses a different solder depending on the components and merchandise design, and the radiator business is no exception. Although the radiator is constructed quickly, it cannot be expected to perform securely or properly if the proper materials are not used.
If you’re trying to figure out which metals should use for the radiator. It would be best if you considered the price of raw products, their durability, and the components that the original radiator is composed of
Different designs result in varying cooling capacities: Knowing these distinctions is crucial for understanding how metal properties relate to your design ideas. Soldering on radiators may damage their ability to transport heat, so be careful and work accurately.
Materials like 15Sn/85Pb, 20Sn/80PB, 30Sn/70Pb, 35Sn/65Pb, and 40Sn/60Pb, as well as aluminum and copper, are a few examples of those employed in this business. Mayer Alloys:
A distributor of solder that carries and provides the entire solder line is called Mayer Alloys. All the materials we stock and supply are guaranteed to comply with ISO 9001 standards because we are the Master Distributor for AIM Solder. Mayer Alloys carries a broad array of the best non-ferrous metals for production or fabrication, focusing on tin and lead-based and lead-free alloys.
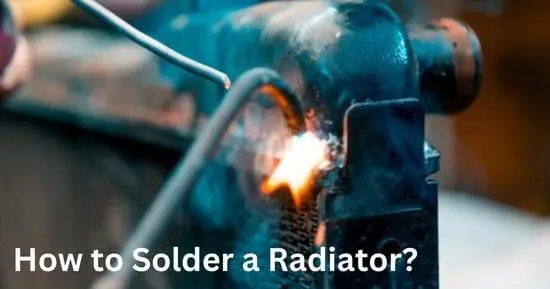
How to Solder a Radiator?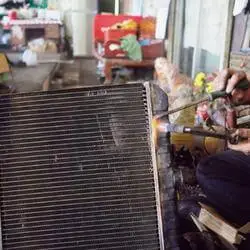
Here are following the steps on how to repair a radiator with solder:
Step-1:
The damaged area is ready for soldering. This entails scraping off any paint with a wire brush or small grinding wheel and eliminating any burrs or potentially dangerous edges. Because radiators are very fragile metal, extreme caution must be taken when using a grinder to prevent further damage.
To ensure that the solder adheres to the radiator without issue, clean the region with a powerful solvent such as Simple Green or brake cleaner. Watch out for additional harm while you clean up the area.
Step-2:
Thoroughly solder the broken region. Use a soldering iron with a high wattage and thick soldering filament. To heat the gun adequately, the solder must melt well and bond with the radiator’s surface. Bring the wire carefully while heating the damaged area of the radiator with the soldering iron, being careful not to spill the solder into the radiator itself.
Make slow, steady progress along the breach until it is filled with solder. Remember to disconnect the iron when you are through soldering because most do not shut off on their own.
Step-3:
Make sure there are no burrs or sharp edges on the solder job by grinding it. Use a wire brush or a tiny wheel to accomplish this. The goal is to clean out any impurities and make the solder line as smooth as possible.
The radiator’s repaired section can either be painted over or left unpainted. Fill the radiator with coolant and let the car warm up while checking for cracks in the soldered region.
Related Guides:


