A problem with the magnet or the circuit wiring in the trailer brake can cause trouble at any time. That’s why you must test your trailer brakes after some time or when you notice any sign of fault.
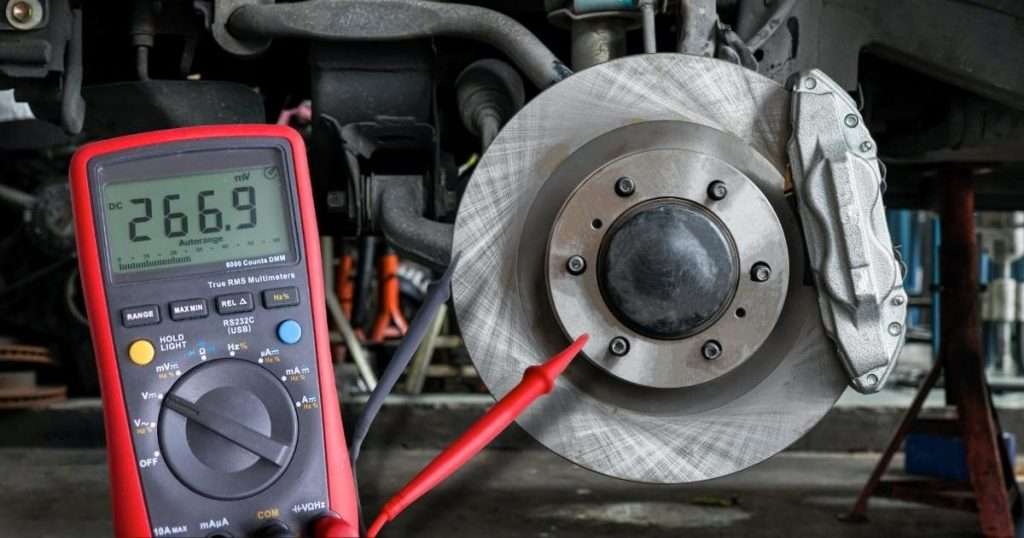
By testing resistance voltage and amperes with a multimeter, you can determine whether the magnet and wires are OK.
In this post, you’ll learn how to identify trailer brake problems and guide you to testing trailer brakes with a multimeter.
Each test in this post is executed & verified by professionals.
Let’s discover in details
Signs of electric trailer brake problems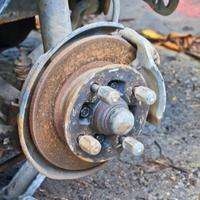
If your trailer brakes don’t work, the most common signs are erratic Brake Control Behavior, seizing adjuster spring, and loose return & hold down springs.
During pressing brakes, if you feel the noise, pulling, or pedal depression, your trailer brakes are weak and need to be changed. In severe cases, your wheels may lock up while traveling.
A bad ground wire, faulty or shorted wires, and a defective brake controller can cause locking trailer brakes. We perform tests on your trailer brake magnets using a multimeter, such as resistance, voltage, and amperage measurement.
How to test a Trailer brake with a multimeter
To check trailer wirings, measure resistance, voltage, and amperes between the magnet and other circuit wires.
- First, set the multimeter to amps (A) and connect one probe to the battery-positive terminal and the second probe to the magnet’s wire.
- In the second test, set the multimeter to DC voltage and connect both probes to the two sets of wires having the same color.
- In the last test, set the multimeter to resistance and test both wires of magnets.
Follow step by step in the guide below
Unscrew Tire and Trailer brake drum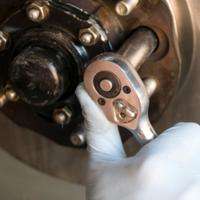
Unscrew bolts on rims to remove tires from the vehicle, and pull the bearings of the brakes by rotating them on both sides.
Most of the magnets in trailer brakes have tiny marks on them. If spots are still on the magnet, it’s in good condition. While if the marks are worn out, you need to replace the magnet.
Remember: While reading from the multimeter, ensure the engine is on and the brakes are pressed.
Test 1: Test Amperage of trailer brake
This test measures the amperage between the battery-positive terminal and the brake magnet wires.
-
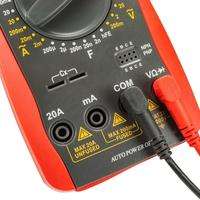
Set multimeter
Set your multimeter to the amp, setting symbolized as A on the multimeter.
-
Connect probes to battery and magnet wire
Connect one probe to the positive battery terminal and the second probe to one of the brake magnet wires. Connect the other magnet wire to the negative battery terminal.
-
Evaluate Multimeter readings
- Your multimeter should read 3-3.2 amps while testing 7-inch brakes.
- 12-inch trailer brake magnet should have 3.2-4 amps.
Check your multimeter reading and compare it with the ideal range of your brakes model. You can find ranges in the manufacturer’s manual or online.
Test 2: Test voltage in trailer brake wires
In the first test, we’ll measure the voltage between the wires of the brake circuit. By measuring the voltage between two sets of the same colored wires, we check if enough current is available to the brakes.
-
Set your multimeter
Set your multimeter to DC voltage, denoted as V, with dotted and straight.
-
Connect probes
Connect one probe to a set of brown white, and green wires and the other probe to a different set of same-colored wires.
Press the brakes so the control system supplies power through the battery, and you can evaluate your brakes with multimeter readings.
-
Evaluate multimeter readings
When brakes are pressed, your trailer brakes should have 8-12 DC voltage. For a proper connection, trailer brakes should be compatible with the battery voltage, such as 12v or 24v.
Test 3: Test resistance of trailer brake magnet wires
Set your multimeter to the resistance setting marked as ‘Ω’on the multimeter
-
Connect probes with both wires of the magnet
Connect the multimeter probes to both wires of magnets.
-
Evaluate multimeter reading
A recommended resistance range for any diameter (7 or 12-inch) trailer brake is 3-4 ohms. The resistance range can differ from other models, so check your model’s specs in the manual or search them online.
Frequently Asked Questions
How does a trailer brake work?
In a non-electric trailer breaking system, when we press brakes, a hydraulic cylinder applies pressure to the trailer brakes and helps the trailer to slow down.
However, when brakes are pressed in an electric trailer, the brake control unit supplies power to the trailer breaks.
How to clean trailer brake magnets?
You can clean the magnets with a brake cleaner chemical. Tetrachloroethylene is one of the best chemicals used in industries for metal-degreasing
Also, using a high temp brake grease will aid in the long-term performance of brakes.
How do trailer brake magnets work?
When brakes are applied, current reaches from the brake control system to the trailer brakes, which makes the magnet slide toward the drum.
When the magnet moves toward the drum, the inner actuating arm rotates. This will cause the brake shoes inside to push against the brake drum wall.
How to check the voltage on trailer brakes?
To check if the trailer brakes are getting voltage, connect both probes to the green, white and brown wires sets. If brakes are getting voltage from the battery, the multimeter will display the voltage of the wires.
You can also test the voltage of the brakes by holding a compass near the brakes. If the needle moves, then there is voltage in the brakes. However, a static compass knob means no voltage.
What would cause trailer brakes not to work?
Poor circuit wiring, loose connection, broken or damaged wires, worn magnet, or a blown fuse may cause a trailer brake not to work.
How to test the trailer lights?
Corrosion, burnout bulb, and problems in the ground connection of the light plug may cause disabled trailer lights.
To test trailer lights, measure the voltage of the trailer light plug. Also, measure the resistance between the negative connector pin and the metal surface(ground). If trailer lights get maximum voltage from the battery, such as around 12 volts from a 12 v battery, your lights are useable.
Conclusion
Testing a trailer brake is easy if you know a few basic things. Test your trailer brakes by doing simple voltage, resistance, and amps tests using just a multimeter.
A somewhat working trailer brake will have all reading in the ideal range, which you can find in the manual or online.
If this article was helpful, share it with others and provide your valuable feedback.
Related Guides:
- How to Test Trailer Lights with a Multimeter
- How to Test a Wheel Speed Sensor Using a Multimeter?
- How to Check Wiring Harness with Multimeter


