If you are facing a problem in testing the ignition control module. So this article will help you learn “how to test an ignition control module with a multimeter.” For testing the ignition control module with the help of a multimeter. Attach the black probe of the multimeter to any part of the grounded vehicle.
It would help if you observed each terminal using the red search. You should monitor the multimeter at the time of the testing. It would help if you did not break the engine while testing.
The failing ignition module helps prevent the engine from breaking and causing it to stall. The engine requires four fundamental things: fuel, compression, spark, and exhaust. The vehicle will not start or get a spark when the ignition module is damaged.
The bad spark plug is significantly higher than the normal resistance. This increased resistance is because of the high voltage produced by the ignition’s coil coils of the secondary winding.
The ignition spark contains sufficiently high energy. It relies on the potential difference requirement, which is approximately 28,000V and approximately. 35,000 V is essential to produce the sparking
The most common cause of the driver falling is a shorted ignition coil primary winding. This cable winding along the ignition coil is where each loop is not attached to the thin plastic coating.
The bad ignition coil has the following symptoms:
- The ignition coil has a reading of 0.4 to 2 ohms.
- Facing problems in starting the car.
- The key can be removed from the ignition switch at any time.
- There is no resistance on the key.
- Overheating of the ignition switch.
It would help if you also concentrated on the lights on the dashboard. The leading cause of the ignition coil’s failure is the worn or bad sparking plug ignition cable.
Identifying Ignition Control Module with a Multimeter
The ignition control module is essential in the vehicle ignition system. The lousy ignition control module can cause problems over a longer time. So it is crucial to identify when the ignition control module requires testing.
- Observe the Engine light
When the vehicle faces a bad ignition control module, you should check the flashing engine light on the dashboard.
- Misfiring of the Engine
The engine fire mainly occurs because of the combustion shortage. The essential factor for incomplete combustion is the faulty ignition module.
- Stalling
The engine gets the spark. But it leads to many other problems like stalling.
You cannot power up these accessories if you have a faulty ignition control module.
The bad ignition control system has to face many starting issues for the vehicle.
The Required Tool for this Purpose
For testing the ignition control module, you require some tools. All the devices must be available before you start the testing process.
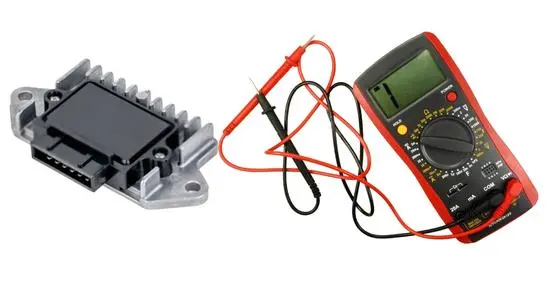
- A digital multimeter
- Vehicle wiring diagram
- A 12V test light
- Ignition switch for replacement
Recognition of the Ignition Control Module
The place of the ICM can be replaced according to the built year and the model. Some vehicles have a separate ICM, and the engine control module manages some. First, you should find a separate ICM or any integrated ICM. The ignition control module is mainly placed in the engine compartment or the distributor housing.
You can also search for the small computer chip, the ignition control module.

How to Test an Ignition Control Module with a Multimeter?
For this purpose, you have to use a multimeter. When you follow all of the given steps correctly, completing the testing process will take around 10 minutes.
Here are the 3 steps to test an Ignition Control Module with a Multimeter:
Step 1
First, you must connect the multimeter’s black probe to the metal frame. This metal frame should be grounded correctly. You should call for a helper if the experiment doesn’t go well.
You should attach the red probe to each terminal to check the current.
When the current passes through this terminal, you should check the readings on the terminal. In the case when you don’t have any reading, it means that you need to replace the entire ignition control module.
The most important thing is that when you are testing with the help of the multimeter, you should set it to the voltage and resistance modes.
Step 2
You should check the spark plug current. In this step, you have to test the ICM spark plug. For this purpose, you require the 12V test light. Then you should attach the 12V test light to the terminal. When the test light flickers, the spark plug is working accurately. You should apply the same procedure with all the terminals.
Step 3
In this step, you have to recognize the faulty wires. When you do not receive any currents in the previous step, it helps check the continuity. First, you should isolate the wires that contain the break or have burnt marks. Now set the multimeter to the resistance mode.
Then you should test the wire from the spark plugs and the ignition control module. As we check for continuity, the multimeter shows an infinite reading, which means that the individual wire has some fault. But the cables are working accurately if the multimeter shows a zero reading.
You should use the same procedure with all of the wires. Then you should use the same process with all of the cables. It is time-consuming but very helpful in identifying the faulty wire. When you recognize the defective lines, you must replace them with new ones.
Conclusion
The digital multimeter gives a more accurate reading than the analog multimeter. The wire and the location may vary depending on the build year and the model. On the inner side of the distributor, the module takes the signal from the sensor. The signal uses for firing the ignition coil to produce the energy from the spark plug.
Related Guides:


