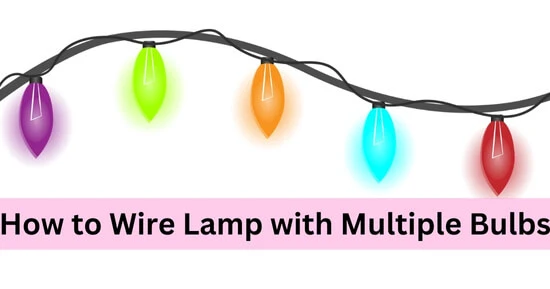
We are said to think more clearly while talking about how to wire a lamp with multiple bulbs. It’s not easy to wire a lamp with multiple bulbs as a single-bulb lamp. Don’t be confused about this problem.
Every problem brings its solution. Challenges make us more conceivable. It’s a reality, not a test, and you will face it shortly. Before going through this difficulty, you must first learn how to wire a lamp with multiple bulbs. Keep reading on, and I will guide you on how to solve this challenge.
Steps to wire a lamp with multiple bulbs
This procedure requires patience. It can cause damage to your lamp if you think about short cut, it can cause damage to your lamp.
You need to depart and unbind some of its parts before replacing the wires in your lamp. Here are some steps that will be helpful for you.
-
Eliminate the wires and disconnect the lamp
Uplift the shield and detach the lamp. A wire connecting chamber cover is referred to as a flip cover; detach it. Now reveal the inner metal socket and wiring connector by snapping the outermost layer of bulb plugs.
Unplug all cables by disconnecting all cable nuts and screw attachments. All cable means the main light cable and two short (cables heading to the socket).
-
Replace the light cord by inserting it
The lamp should be incised in 3 sections. The main chord is high in length as we go down to the bottom of the lamp and the outlet. To shield the central wire of the lamp base from the board connections, it is essential to make both other wires small.
To create two clear pieces, split up the wire tips along the cable middle joint. It should be noted each wire is about 2 inches in length.
-
Organize the wires
Run both wires short and long with the lamp. Through the bottom of the wire, the long wire should be run. With the outlet holes, run short cables. Running the wires is a challenging process.
You have to do work gently to avoid bending. A pair of syringes may help grab them when the ends of the wires become visible.
-
The following steps are involved in plugging the ports
With the help of shorter lamp cables, connect the light wires to the outlets. Little bumps on the plastic surface can identify the neutral side of the split cable. You can feel it with your fingertips.
- By using silver colored screw connecter, connect this part to the metal socket. The twisted cable should be cloaked around the wire in a circular motion.
- In a similar way, connect the hot wire present on the smother side of the lamp to the connector’s copper-colored screws.
- Continue this cycle by replacing the lamp’s plugs with each other.
-
Link socket wire to the light cord as follows
- At the center wire connecting box, you have to coil the exposed tips of those neutral cables together. After this, also fasten a wiring screw over the exposed tips.
- The Same procedure should be followed with charged cords.
- The main lamp wires, both hot and neutral lines, are connected to the hot and neutral cables, respectively. And these cables travel to each outlet.
-
Now start inserting plugs as follows
By detaching the plug’s center To, join a new cord plug. With the help of an exterior plug, the cover put the lamp cord’s tip. Then attach the cords to the plug system’s screw terminals.
One of the brinks will be massive to distinguish the conventional blade from the charged blade, which is narrower if the center is polarized. Now connect the stable half of the light cord with a screw connector attached to this larger blade. You have to join the tiny blade of the hot screws connector to the smoother part of the light wire.
-
After performing the test, attach the lights as follow
Reassemble the light bulb connections inside their outer shells. Then tightly insert the outermost layers into the lamp. Once the lamp is put together, plug the lamp in to make sure the bulbs are operating correctly or not.
How to wire a lamp with multiple bulbs in a parallel connection?
- First, attach the neutral terminals of all lamps and power sources together.
- Each switch’s individual terminal should be connected together. And also phase terminal of the power source should be connected together.
- Now, you have to join the lamp’s rest terminal to the rest terminal of each switch.
- Identify each switch in accordance with the lights it is connected to.
Conclusion
In this article, I have described “how to wire a lamp with multiple bulbs.” It’s not a big deal when you are using an old lamp or a new one. You can also choose your old lamp for this purpose. To carry out this procedure, consistency and patience are required.
There are two methods to wire a lamp with multiple bulbs (parallel circuit and series circuit). For this purpose, we always prefer a parallel circuit. In parallel connections, the voltage remains constant while the current changes at every point. But it does not happen in the series circuit.
The current remains the same in series connections, and the voltage differs. Due to this reason, the brightness of the bulbs gradually decreases in the series circuit. But in parallel connections, the brightness increases. That’s why parallel connections are more valuable to wire a lamp with multiple bulbs.
Related Guides:


