A multimeter is a helpful tool to test a thermopile. This article explains how to do it with a few simple steps.
Thermopiles are important as they are used in devices that connect to provide heat. It may be a heater, geezer, or other appliances. Thermopiles work by converting the heat energy into electrical signals, which provide the output in the form of temperature.
Water heaters are of great importance in winter and cold areas. If the thermopile is not working properly, then you will not be able to enjoy hot showers. It may happen because of many reasons.
Why do we need to test the thermopile?
It is very important to test the thermopile as it comprises the main functional character upon which the output of your water heater is dependent. However, thermopiles are also used in Automatic HVAC control.
Thermal line scanners, Blood glucose monitoring, and automatic exhaust gas analysis, but at home base, they are most of the time present in water heaters. These are the appliances with which people seem to be most concerned, especially in the colder regions.
The reason why thermopiles need to do their work properly is the insufficient supply of voltage. If the thermopile is not getting enough electrical current, you will not be able to get the advantage of the water heater. For this, the best solution which comes to our mind is the Multifunction digital multimeters.
As you are now concerned with testing the thermopile, you will never have a better option than the multimeter, as this device will help you check out the voltage supply to the thermopile. Then you will realize whether a voltage problem or another problem is damaging your water heater quality.
How to test a thermopile with a multimeter?
Before getting started with the process, we should know some important structural components of the thermopile so we can check out the same part of our appliance.
A thermopile has a total of 2 red and white wires; one is attached to the positive side of the electricity source, and the second is to the negative side. Then these two wires are attached by a resistor. Now let’s look at the steps we have to do while testing the thermopile with a multimeter.
- First, you must set your multimeter according to the purpose you want to use it.
- As you are concerned with the electric current, put the multimeter on the direct current point.
- Remove the connection between the gas source and the thermopile.
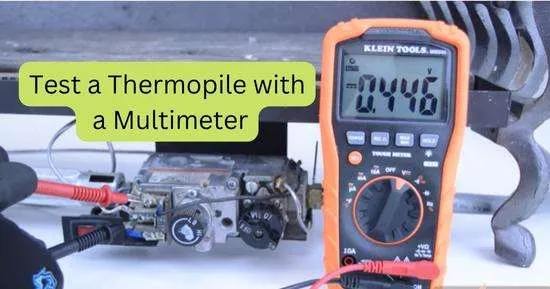
- Attach the leads of the multimeter with the thermopile.
- Set the water heater settings.
- Keep holding the knob of the thermopile until you get the maximum value of voltage.
Now we will discuss each step of the testing process briefly.
Step-by-Step Guide:
- The first step is to change the multimeter’s settings according to the purpose. So for this, you have to turn the main knob of the digital multimeter towards the direct current point. This is done because you must measure the voltage to test the thermopile using the multimeter.
- Now set the voltage by turning the mini knobs. You have to put the knob on the lower voltage levels or millivolts.
- As thermopiles are connected to the gas sources, you have to disconnect the gas source and thermopile in the second step.
- As both are now in the condition to be tested, this is the time to connect the thermopile and multimeter by joining the leads.
- You have to connect the thermopile’s Red wire with the multimeter’s positive red lead.
- Similarly, attach the thermopile’s white wire with the multimeter’s negative black lead.
- Now set the gas control at the pilot lightning point and light it.
- After lighting it, you will see that the voltage measurement on your multimeter has started increasing.
- Now keep holding the knob of the thermostat until you get the maximum amount of voltage. For this, you may have to wait for some minutes.
- When you see that the voltage readings are getting slowed down on your digital multimeter, then this is the point that your test is done.
Results:
- Your thermopile is healthy if you get voltage readings between 650 to 850 millivolts.
- If you get voltage readings lower than 400 millivolts, it is the default signal in your thermopile. Then in this condition, you have to replace it with a new one immediately.
Final verdict
It is excruciating if your water heater is not giving you enough hot water. For this, you should test the thermopile of your water heater by following the above-explained matter. It is helpful because you need to know the root cause to find the solution to your problem.
And especially if you need to learn more about checking the electrical appliances and using them, it will always be a big deal for you to fit all of your appliances by calling an electrician or an expert.
But if you follow our guidelines, you don’t have to do much as anyone can quickly follow this process, as it only requires a little technical support. So you are advised to check these little problems by getting help from our guidelines and immediately get the right solution for your problem.
Related Guides:


